Table of Contents
Introduction
In our earlier blog, we covered the Installation of MySQL server in Linux using the repository method which was the first step towards installation series. if you haven’t checked it out yet, we recommend reading that post first.
Installation of MySQL Server in Linux : Method B
This is the RPM-based installation without using the repository method.
Note: – Methods A and B require execution as the root user, while Method C allows installation using the MySQL user or any other non-root user.
Step 1) In this case we can Directly Download MySQL Software onto the server.
Go to MySQL's official Website and check the bundle.tar (mysql-8.0.30-1.el7.x86_64.rpm-bundle.tar) file or any other updated version as per your requirement.
Step 2) Download the bundle.tar directly in your Virtual Machine by using the wget command.
Command: – wget https://downloads.mysql.com/archives/get/p/23/file/mysql-8.0.30-1.el7.x86_64.rpm-bundle.tar
Output

Step 3) Create the directory where you will untar the bundle file.
Directory Path : /local/bundlemysql-8
Command to untar the bundle file : tar -xvf mysql-8.0.30-1.el7.x86_64.rpm-bundle.tar -C /local/bundlemysql-8
Output

Step 4) Now we need to install the dependencies and proceed further with the installation.
yum install openssl-devel -y
yum install perl-JSON -y
yum install perl-devel -y
Step 5) Install the Actual MySQL Software using rpm -ivh or yum command.
Command
yum install -y *.rpm –nodeps
or
rpm -ivh mysql-community-*.rpm –nodeps
or
rpm -ivh *.rpm –nodeps
Starting and Stopping MySQL Server
Status: – systemctl status mysqld
Start: – systemctl start mysqld
Stop: – systemctl stop mysqld
Securing Your MySQL Installation
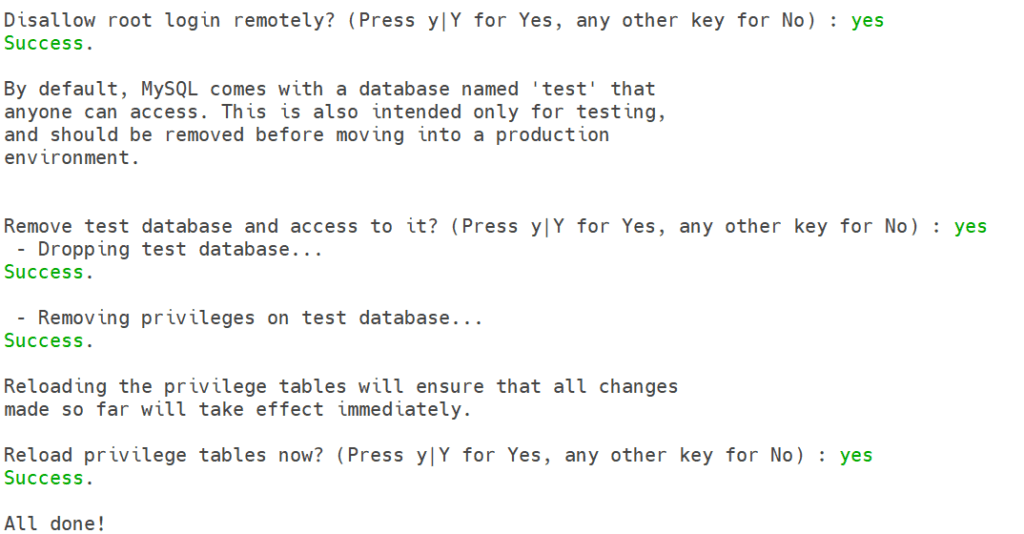
We need to execute mysql_secure_installation which helps to remove the anonymous users, disable remote root login as well as get the temporary password so that we can log in for the first time and reset the password as per our requirement.
Temporary password location: – grep 'temporary password' /var/log/mysqld.log
Output

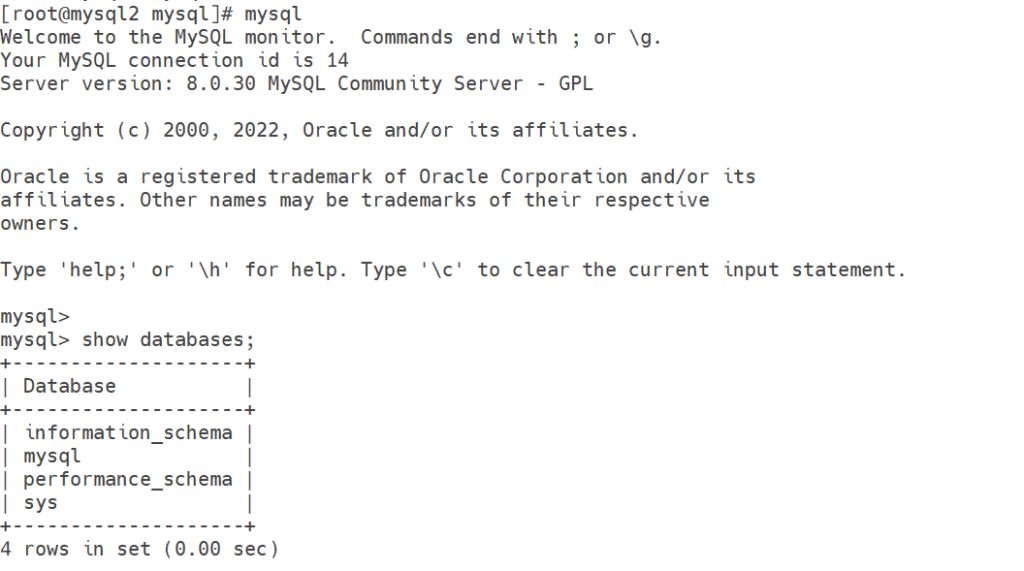
Testing Your MySQL Installation
Login Status Output
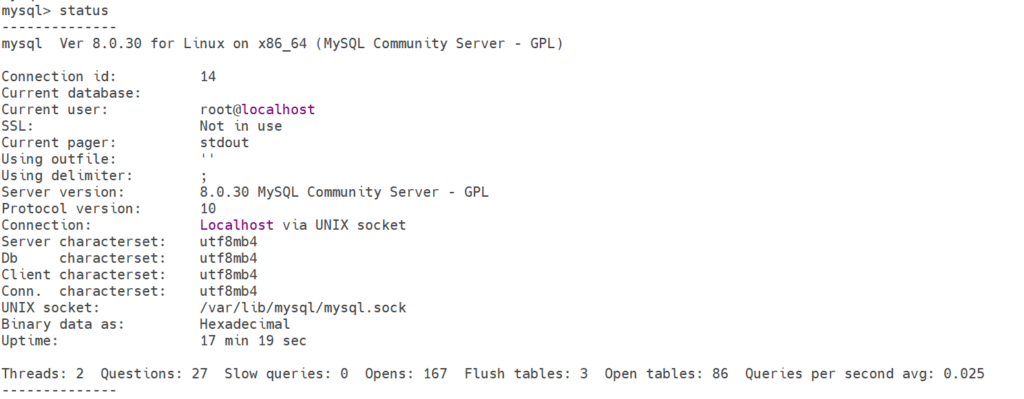
Connection Status Output
Conclusion
Finally!! We have done the Installation of MySQL Server in Linux for Method B.
If you enjoyed the article, please leave a comment and share it with your friends. Also, let me know which Oracle and MySQL topics you'd like to see covered in future articles.
In our next article, we will cover the last method which is the binary-based method.
Cheers!!

