Table of Contents
Introduction
A graphical user interface greatly simplifies the process of dealing with MySQL databases. In this guide, you’ll learn how to install MySQL Workbench step by step, making it simple to manage databases, run queries, and visualize data.
What is MySQL Workbench?
MySQL Workbench is an official graphical tool provided by MySQL to design, manage, and interact with databases. We can easily perform the MySQL Workbench setup by following the mentioned steps.
It helps you:
1. Execution of SQL queries.
2. Design ER diagrams.
3. Manage database users.
4. Import/export data.
Prerequisites
Before installing MySQL Workbench, we need to ensure of below points.
1. MySQL Server is installed.
2. System meets minimum requirements like 4 GB RAM.
3. Internet connection available.
Download MySQL Workbench
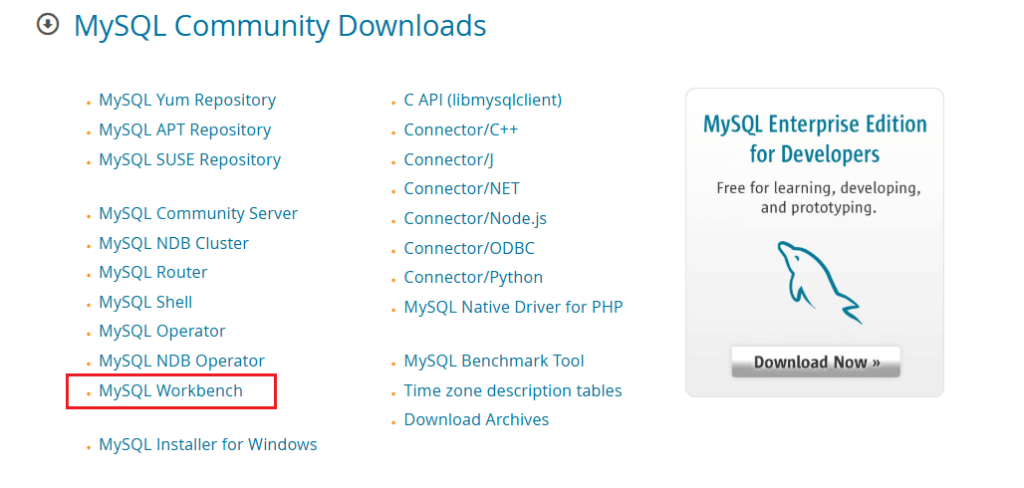
1. Go to the official MySQL website
2. Navigate to Downloads → scroll down → MySQL Community (GPL) Downloads → MySQL Workbench


3. Select your operating system (Windows/Linux/Mac)
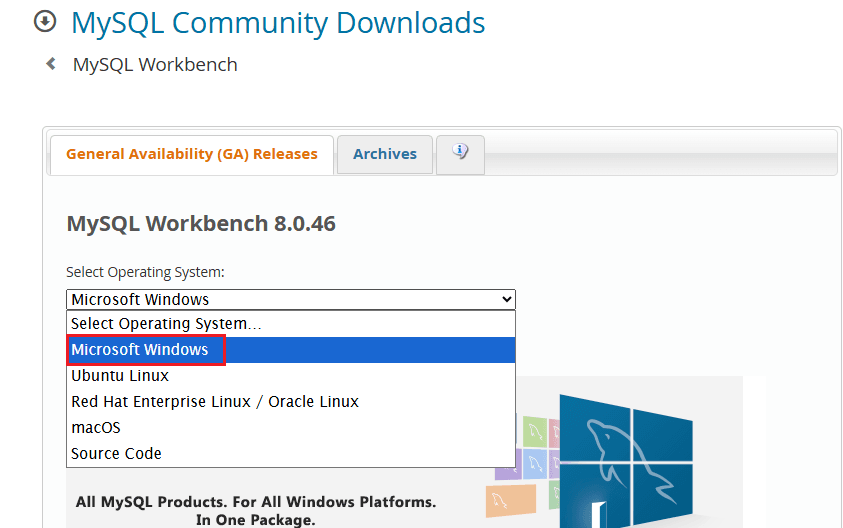
4. Click Download MySQL Workbench

MySQL Workbench Installation (Windows)
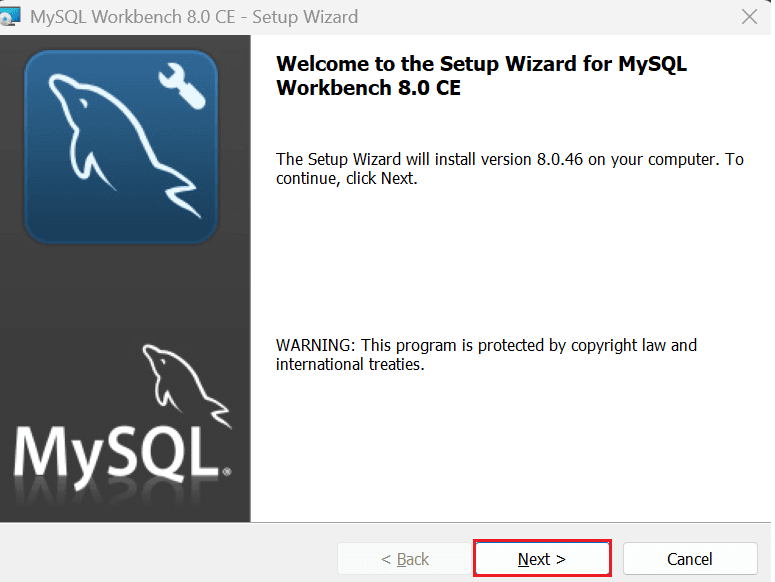
1. Open the downloaded installer
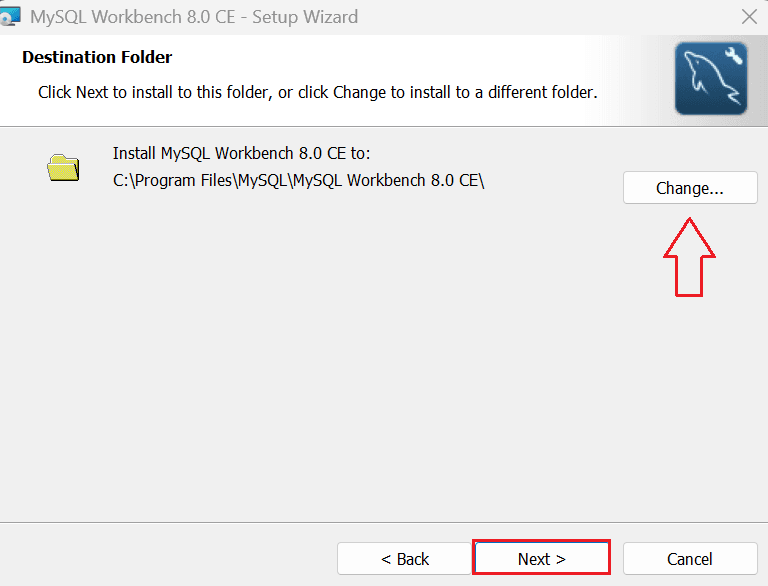
2. Click Next
3. Set the Destination Folder
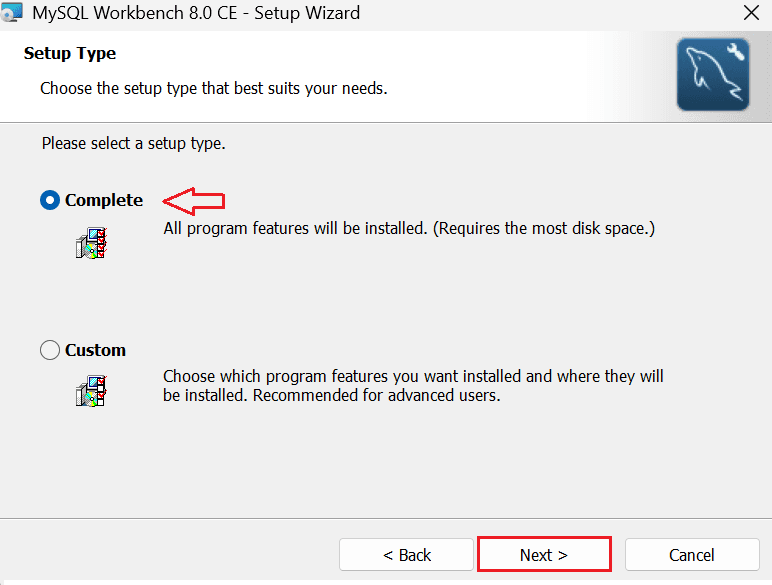
4. Choose setup type (Recommended: Complete)
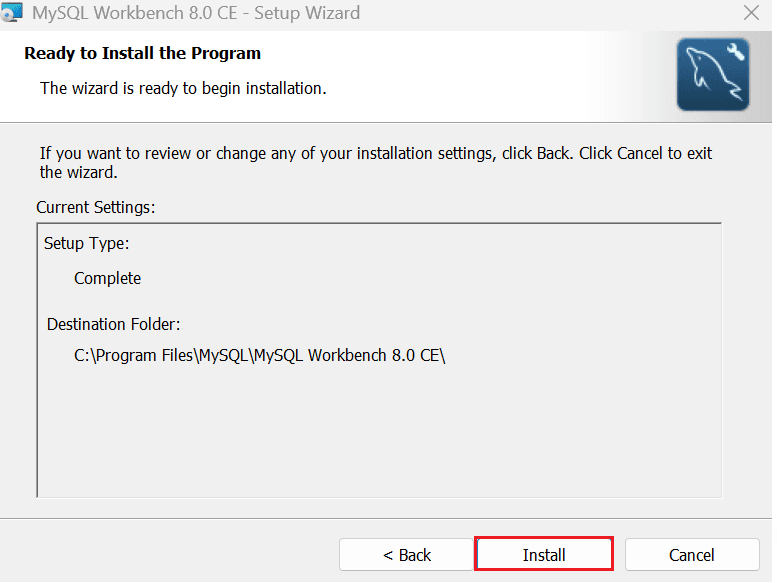
5. Click Install
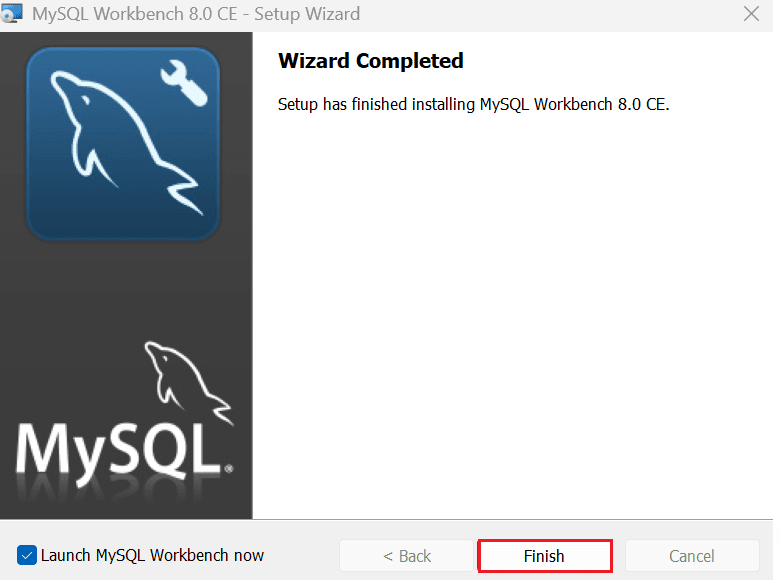
6. Click Finish
Launch and Connect
1. Open MySQL Workbench
2. Click on + (New Connection)
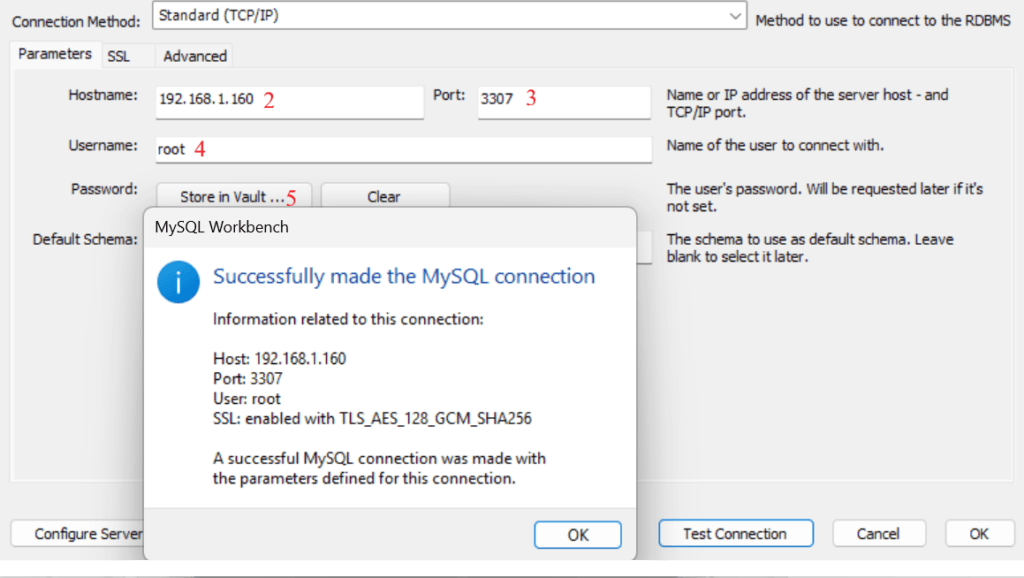
3. Enter:
a. Hostname: IP address or Hostname
b. Username: root (You can put your username from which you want to make a connection)
c. password
Output
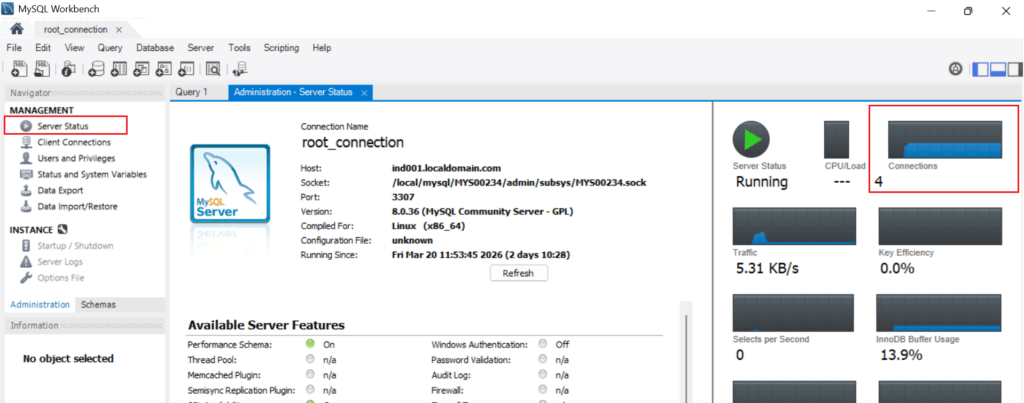
Connection Verification
1. Server Status.
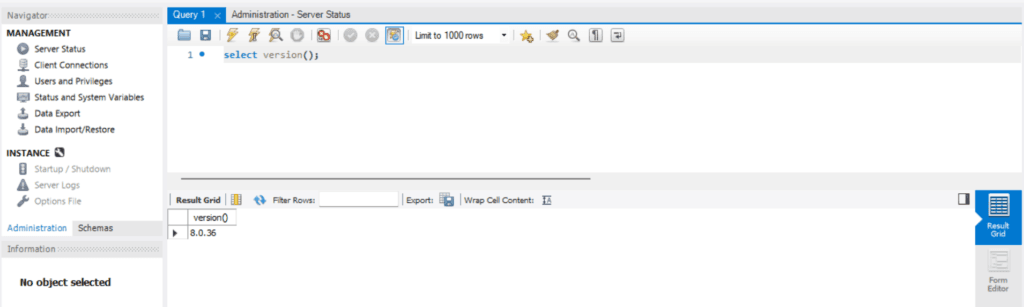
2. Version Check
Conclusion
In this guide, you learned how to install the MySQL Workbench step by step. You can now easily manage databases, execute queries, and visualize data using a graphical interface.
If you enjoyed the article, please leave a comment and share it with your friends. Also, let me know which Oracle and MySQL topics you'd like to see covered in future articles.
Note: – If you want to practice this whole activity in your home lab, then you'll need a platform to perform the installation. To set that up, you first need to download and install Oracle VirtualBox, followed by the operating system, the MySQL binary software, and finally, MySQL server creation.
Related Articles
1. Mysql Installation using Repository method (RPM-based)
2. Example of Storage Engine in MySQL 8
4. MySQL Server Installation Using Generic Binary