Table of Contents
Introduction
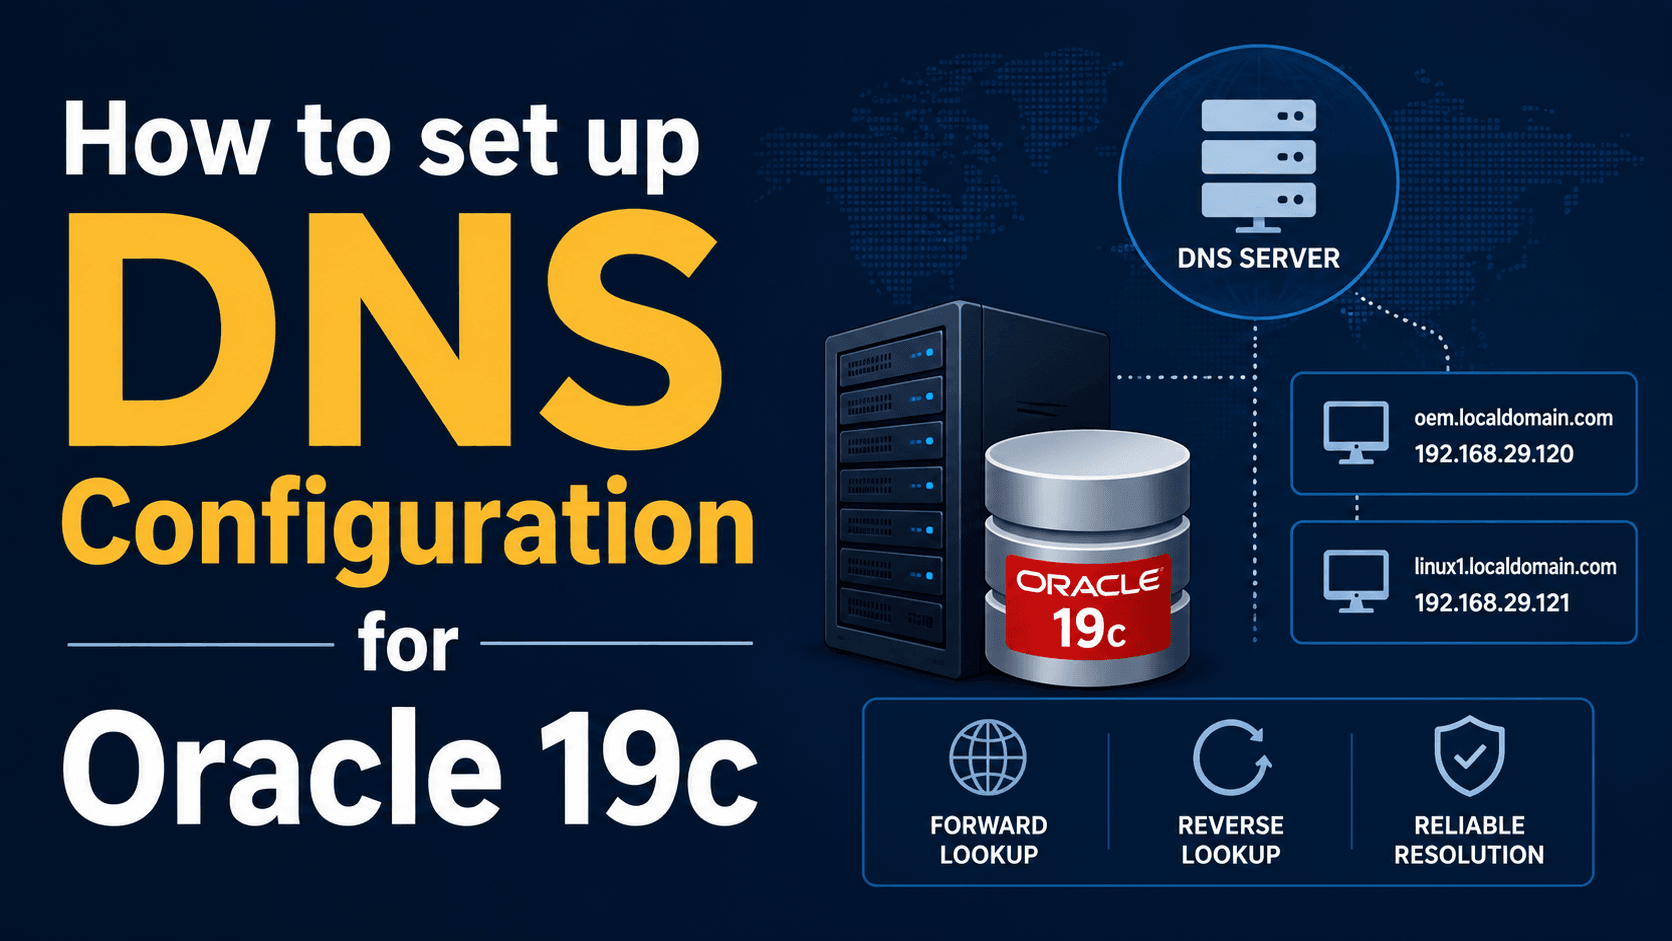
DNS Configuration for Oracle 19c is one of the most important networking prerequisites for Oracle Enterprise Manager. Incorrect DNS entries or hostname resolution issues can lead to OMS installation failures, agent communication problems, and target discovery issues.
In this guide, we will verify hostname settings, configure DNS resolution, update host entries when required, and validate forward and reverse name resolution on an Oracle Linux server.
Note – This article focuses on DNS configuration and hostname resolution for Oracle 19c environments.
Before proceeding, ensure the following components are available:
Oracle Linux 8.10 Installation Guide
Oracle Database 19c Software Installation Guide
Oracle 19c Database Creation Using DBCA
Oracle Enterprise Manager 13c Installation Guide
External References:
Oracle Database 19c Documentation
Oracle Linux Networking Documentation
After completing the DNS configuration, continue with Oracle Database installation or other Oracle infrastructure deployments.
Set up DNS Configuration for Oracle 19c
Step 1) Configure Network Interface DNS Settings
Before configuring the DNS service, update the network interface configuration to use the existing DNS server and define the search domain. This ensures that the server can resolve hostnames correctly during package installation and DNS configuration activities.
Edit the network interface configuration file and add the DNS server IP address along with the domain name that will be used in the environment.
a) cd /etc/sysconfig/network-scripts

b) put below entry in this ifcfg-enp0s3 file

DNS1=192.168.1.1
Domain=localdomain.com

c) systemctl restart NetworkManager
Step 2) Install DNS Server Packages
Oracle Linux uses the BIND package to provide DNS services. Install the required DNS packages that will allow this server to function as a DNS server for hostname resolution within the Oracle environment.
Once the installation is complete, verify that all required packages have been installed successfully.
yum install bind* -y

rpm -qa | grep bind*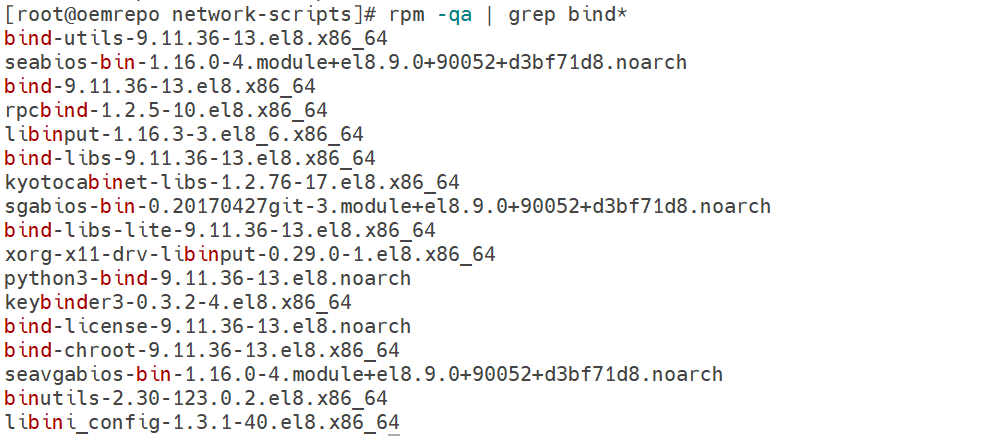
Step 3) Configure DNS Server Settings
Update the named.conf configuration file and define the interfaces on which the DNS service should listen. Also, configure the networks that are allowed to query the DNS server.
Put entry in /etc/named.conf file

options {
        listen-on port 53 { 127.0.0.1;192.168.1.190; };
        listen-on-v6 port 53 { ::1; };
        directory       "/var/named";
        dump-file       "/var/named/data/cache_dump.db";
        statistics-file "/var/named/data/named_stats.txt";
        memstatistics-file "/var/named/data/named_mem_stats.txt";
        recursing-file  "/var/named/data/named.recursing";
        secroots-file   "/var/named/data/named.secroots";
        allow-query     { localhost;192.168.1.0/24; };
Step 4) Configure Forward Lookup Zone
Put this Forward Lookup Zone file entry in /etc/named.conf at the end.
Forward Lookup Zone:-
======================
zone "localdomain.com" IN {
type master;
file "forward.localdomain";
allow-update { none; };
};
Step 5) Configure Reverse Lookup Zone
Put this Reverse Lookup Zone file entry in /etc/named.conf at the end.
Reverse Lookup Zone: -
=======================
zone "1.168.192.in-addr.arpa." IN {
type master;
file "reverse.localdomain";
allow-update { none; };
};
Step 6) Create Forward Lookup Records
vim /var/named/forward.localdomain

$TTL 86400
@ IN SOA oemrepo.localdomain.com. root.localdomain.com. (
2014051001 ; serial
3600 ; refresh
1800 ; retry
604800 ; expire
86400 ; minimum
)
@ IN NS oemrepo.localdomain.
localhost IN A 127.0.0.1
oemrepo IN A 192.168.1.190
Step 7) Create Reverse Lookup Records
Create the reverse lookup zone file and define the IP-to-hostname mappings. These entries will be used during reverse DNS lookups.
vim /var/named/reverse.localdomain

$TTL 86400
@ IN SOA oemrepo.localdomain.com. root.localdomain.com. (
2
3H
1H
1W
1H )
@ IN NS oemrepo.localdomain.com.
@ IN PTR localdomain.com.
oemrepo IN A 192.168.29.190

190 IN PTR oem.localdomain.com.
Step 8) Start and Enable DNS Service
Start the DNS service and configure it to start automatically after a server reboot. This ensures that hostname resolution remains available whenever the server is restarted.
service named start
Step 9) Update DNS Client Configuration
Now that the local DNS server has been configured, update the network interface settings to use the newly created DNS server as the primary name server.
cd /etc/sysconfig/network-scripts

put below entry in this ifcfg-enp0s3 file after above changes

DNS1=192.168.1.190
DNS2=192.168.1.1
Domain=localdomain.com
Step 10) Verify Resolver Configuration
Review the /etc/resolv.conf File and confirm that the correct DNS server and search domain entries are present.
vim /etc/resolv.conf

# Generated by NetworkManager
search localdomain.com
nameserver 192.168.1.190
rotate
options timeout:1
options attempts:5

chattr +i /etc/resolv.conf
Step 11) Validate Forward DNS Resolution
Use the nslookup Command to verify that hostnames can be resolved successfully by the DNS server.
nslookup oemrepo.localdomain.com
Step 12) Validate Reverse DNS Resolution
Perform reverse lookups using the server IP addresses and verify that the DNS server returns the correct fully qualified domain names (FQDNs).
nslookup 192.168.1.190
Step 13) DNS Configuration Completed
At this stage, the DNS Configuration for the Oracle 19c server has been successfully configured, and both forward and reverse name resolution have been validated. The server is now ready for Oracle Database 19c, Oracle Enterprise Manager 13c, Oracle RAC, or other Oracle infrastructure deployments that require proper hostname resolution.
Conclusion
In this guide, we completed setting up the DNS Configuration for Oracle 19c and verified both the hostname and DNS resolution on the Oracle Linux server. Proper DNS configuration is a fundamental prerequisite for Oracle Database installations and helps ensure reliable communication between Oracle components, monitoring tools, and client applications. The server is now ready for Oracle 19c deployment and related infrastructure configuration activities.